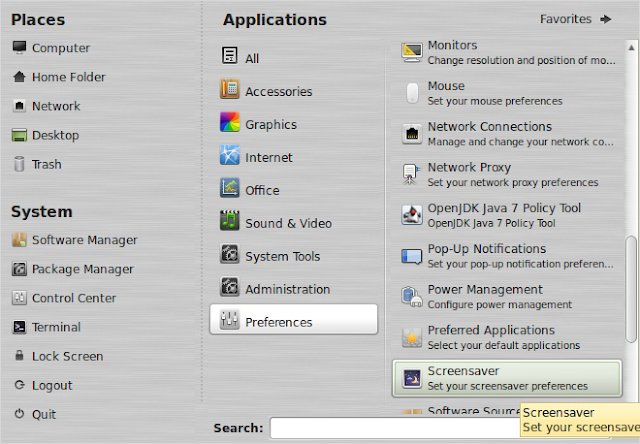
ScreenSaver
The
Screensaver dialog box of the Control Center enables you to select a
screensaver for your system and customize its setting. You can configure
global options, such as the time before the screensaver kicks in, as
well as options specific to the individual screensaver that you choose.
The Screensaver dialog box is divided into three major areas:
- A preview monitor
- A Screensaver list
- Some general screensaver setting
The Priority setting controls how much processor time is devoted to the screensaver when it is active. This corresponds to the Linux nice value of the screensaver process. If you want the screensaver to run at a higher priority than other processes on your machine (so that the animation is smooth, for example), drag the slider to High. If you want other processes to have priority, slide it to Low.
To test the screensaver setting on the full screen, click the Test button. After adjusting the screensaver setting, click OK or Apply to save you changes.
Configuring System Notifications
The
Look&Feel, System Notifications dialog box enables you to specify
how you would like to be notified when various events happen. To
associate a notification with a particular event, select the event from
the nested menus in the Application/Event list. Then select one or more
notification types:
- Log to file - KDE will append a message to the file you specify in the Filename text box.
- Play sound - KDE will play the sound file your specify in Filename text box. Click the button beside the Filename text box to test the sound.
- Show messagebox - KDE will open a message box.
- Standard error output - KDE will output a message to standard error (stderr). This generally will go to your text console. Generally this is only useful for debugging purposes.
ScreenSaver
Setting Window Manager Policies
Setting
in the Look & Feel, Window Behavior, Actions dialog box of the
Control Center enable you to adjust window policies. These policies
affect the appearance of windows when they are moved and resized, as
well as how windows are maximized, placed, and selected (receive focus)
by the window manager. The options in the top part of this dialog box
determine how windows look while they are being moved or resized, and
how the Maximize operation works on a window. During a resize or move
operation, you can choose to have windows appear with their contents
intact, or as transparent rectangles. When windows are drawn with their
contents during these operations, it requires more time to update the
display during the move or resize operations. If you are on a slow
machine, this can result in the operation appearing choppy or jerky.
To
display the contents of windows during move or resize operations,
select the appropriate options on this dialog box. However, if you want
faster (smoother) performance for move or resize operations, deselect
these options.
If
you choose to display contents in resizing windows, you can also choose
to have windows update their contents while they are being resized,
using the resize animation setting. Use the slider to specify a speed.
If you select a value other than None, when you resize a window its
contents are redrawn while it is being resized. This gives you a visual
indication of how the program will lay out the window contents at
various window sizes, so you can select the best size. However, it it
also makes the resize operation slower, and it can be choppy looking.
The
Placement policy drop-down menu allows you to configure where windows
are placed on the desktop. The following policies are supported:
- Smart - minimizes overlap between windows.
- Cascade - The first window is displayed in the upper left. The next window is placed slightly to the lower right so it mostly overlaps, and so on. The result is similar to how you might lay down a hand of playing cards.
- Random - Windows are placed on the screen randomly.
- Click to focus - Windows gain focus only when you click on them. The window is automatically raised, or put on top of any other desktop windows. This is the default and is the focus policy of Microsoft Windows.
- Focus follows mouse - Windows gain focus when you move into them (using the mouse pointer or using Alt+Tab or otherwise). This might or might not raise the window. Moving the mouse pointer onto the desktop does not cause the currently active window to lose focus. If Auto Raise is selected, the window will be raised after the mouse pointer is in it for the number of milliseconds set by the Delay slider. If Click Raise is selected, clicking anywhere in the window will raise it. Otherwise, only clicking on the border will raise it. This is an incredibly useful focus policy, because it enables you to type in one window while reading another window that might obscure it.
- Focus under mouse - Windows gain focus whenever the mouse pointer moves into them. Keyboard shortcuts like Alt+Tab will probably not work correctly. This focus policy is really only provided for true purists.
- Focus strictly under mouse - Windows gain focus whenever while the mouse pointer is within them. If the mouse points to the desktop, no window will have focus. This is generally not useful and is only provided for nearly masochistic old-time purists.
Tip - If you have experience in other operating systems, you might be most comfortable using Click to focus, which is the default. But you should try Focus follows mouse. It really separates UNIX-based desktops from less feature-rich ones.


1 Comments
thanks for the valuable article.
ReplyDeletehttps://www.intellectsuryakanta.com/howtoimproveyourwillpower/